


In this post I'll show you how to use Jupyter Notebooks in IBM Watson Studio. IBM Watson doesn't get as much press and attention as solutions from Microsoft, AWS and Google, but it's a high-quality AI/ML platform with some great usability built into its design.
Video walk-through
This post is also available as a video walk-through on YouTube! The text version of the walk-through continues after the embedded video.
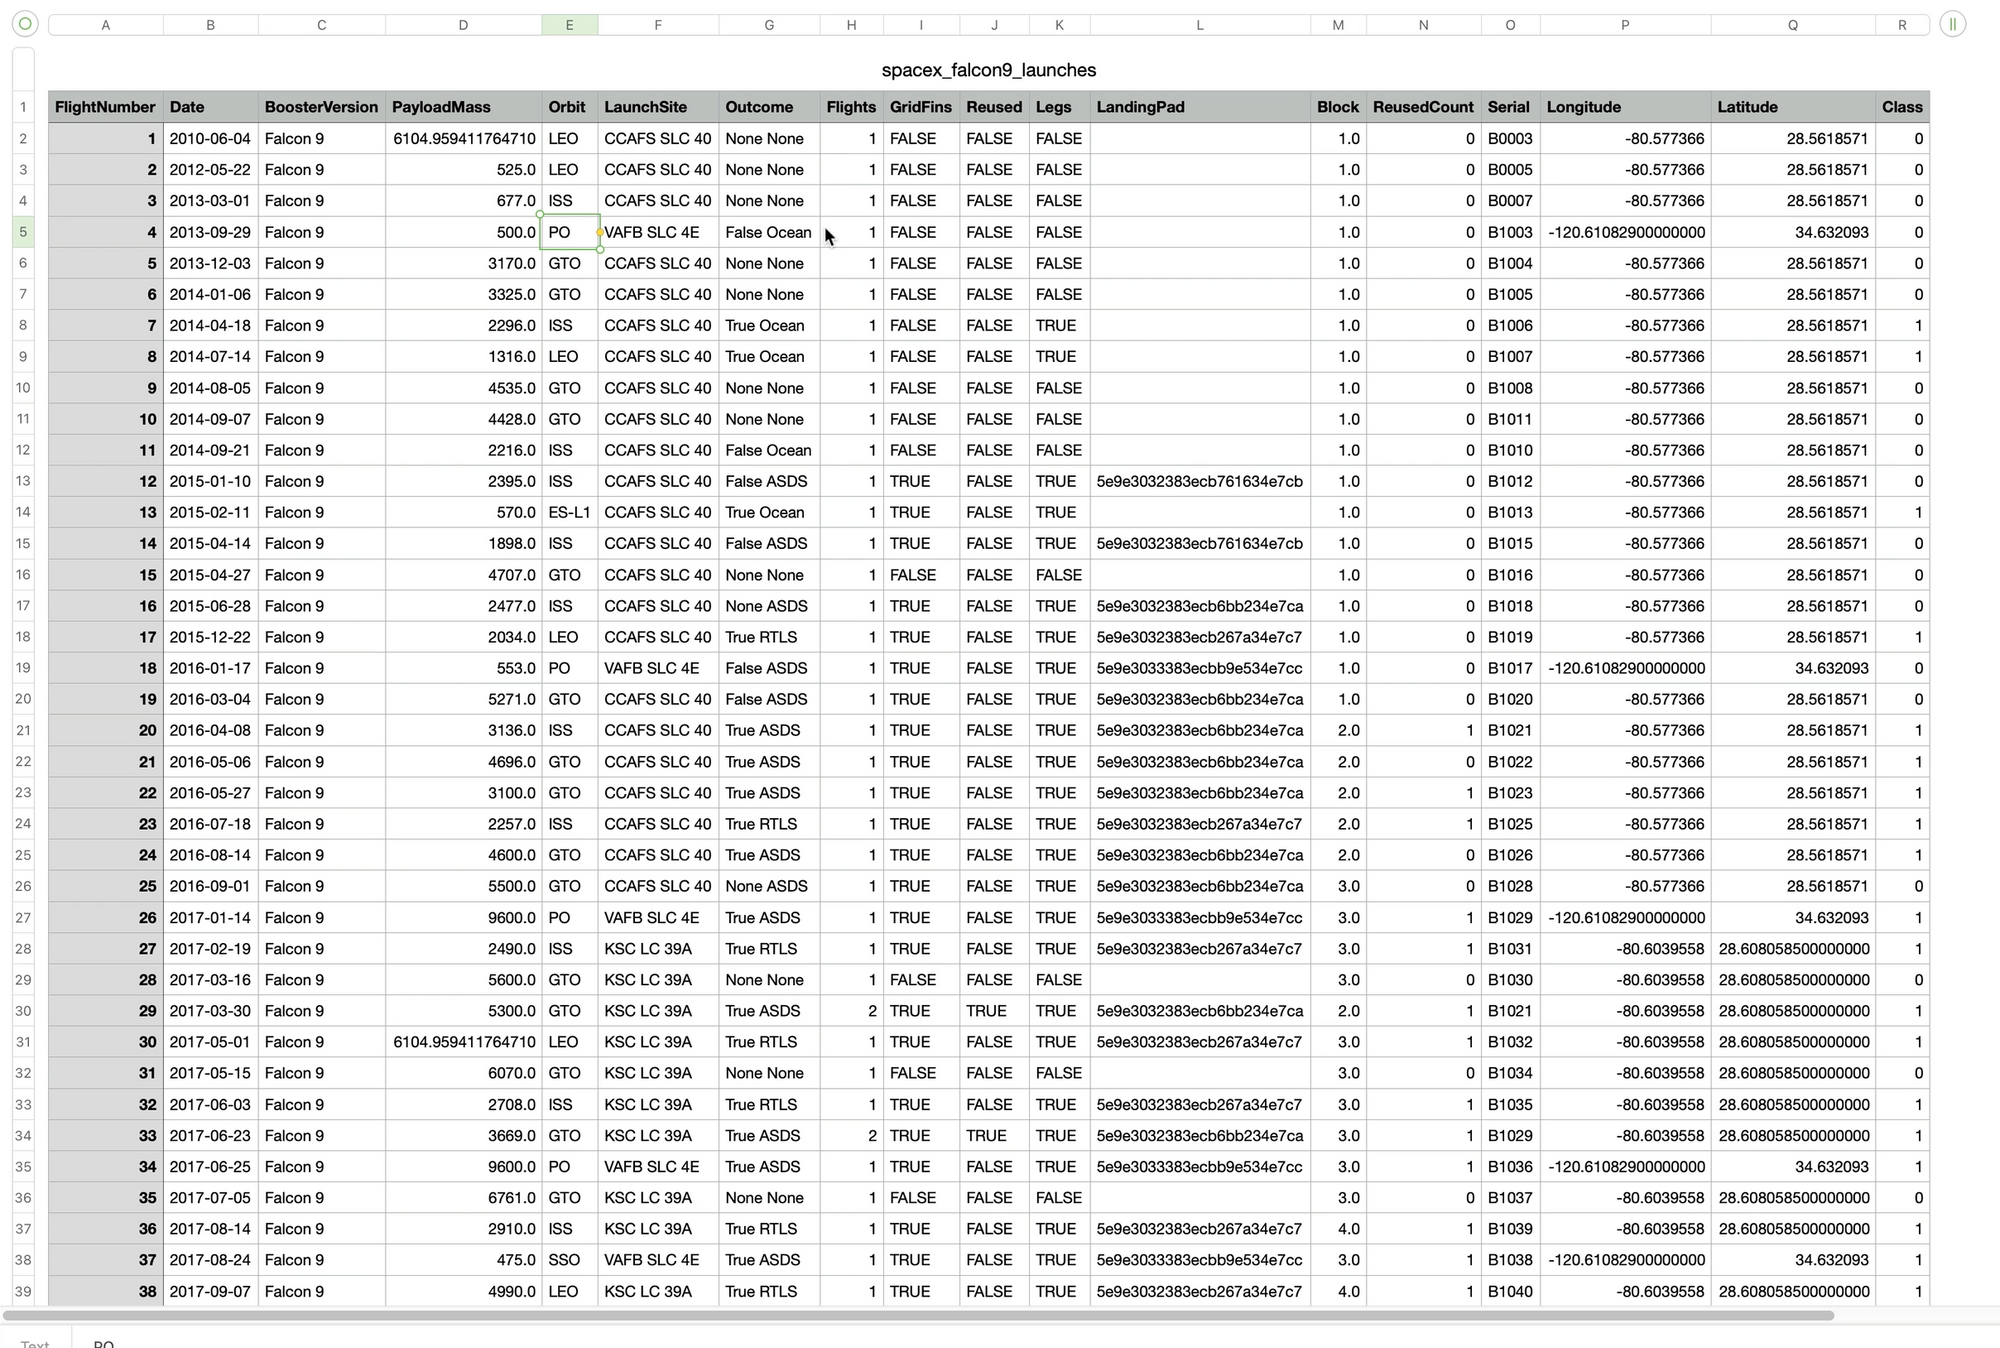
The Data Source
The data source I'm using is a table of SpaceX Falcon 9 launches. The data shows each launch, various metrics, such as the payload weight, which rocket was used, etc. The target variable is whether the launch was successful or not. The machine learning model will be trained to predict the success of future launches based on these input variables.
Creating the IBM Watson Studio Solution
Creating a basic ML model with IBM Watson Studio has four steps:
- Create a Watson Studio Project.
- Create a Jupyter Notebook and attached compute kernel.
- Upload the source data to a data bucket.
- Read the data into the notebook from the data bucket.
- Wrangle the data and train the model.
I'll go through each step below.
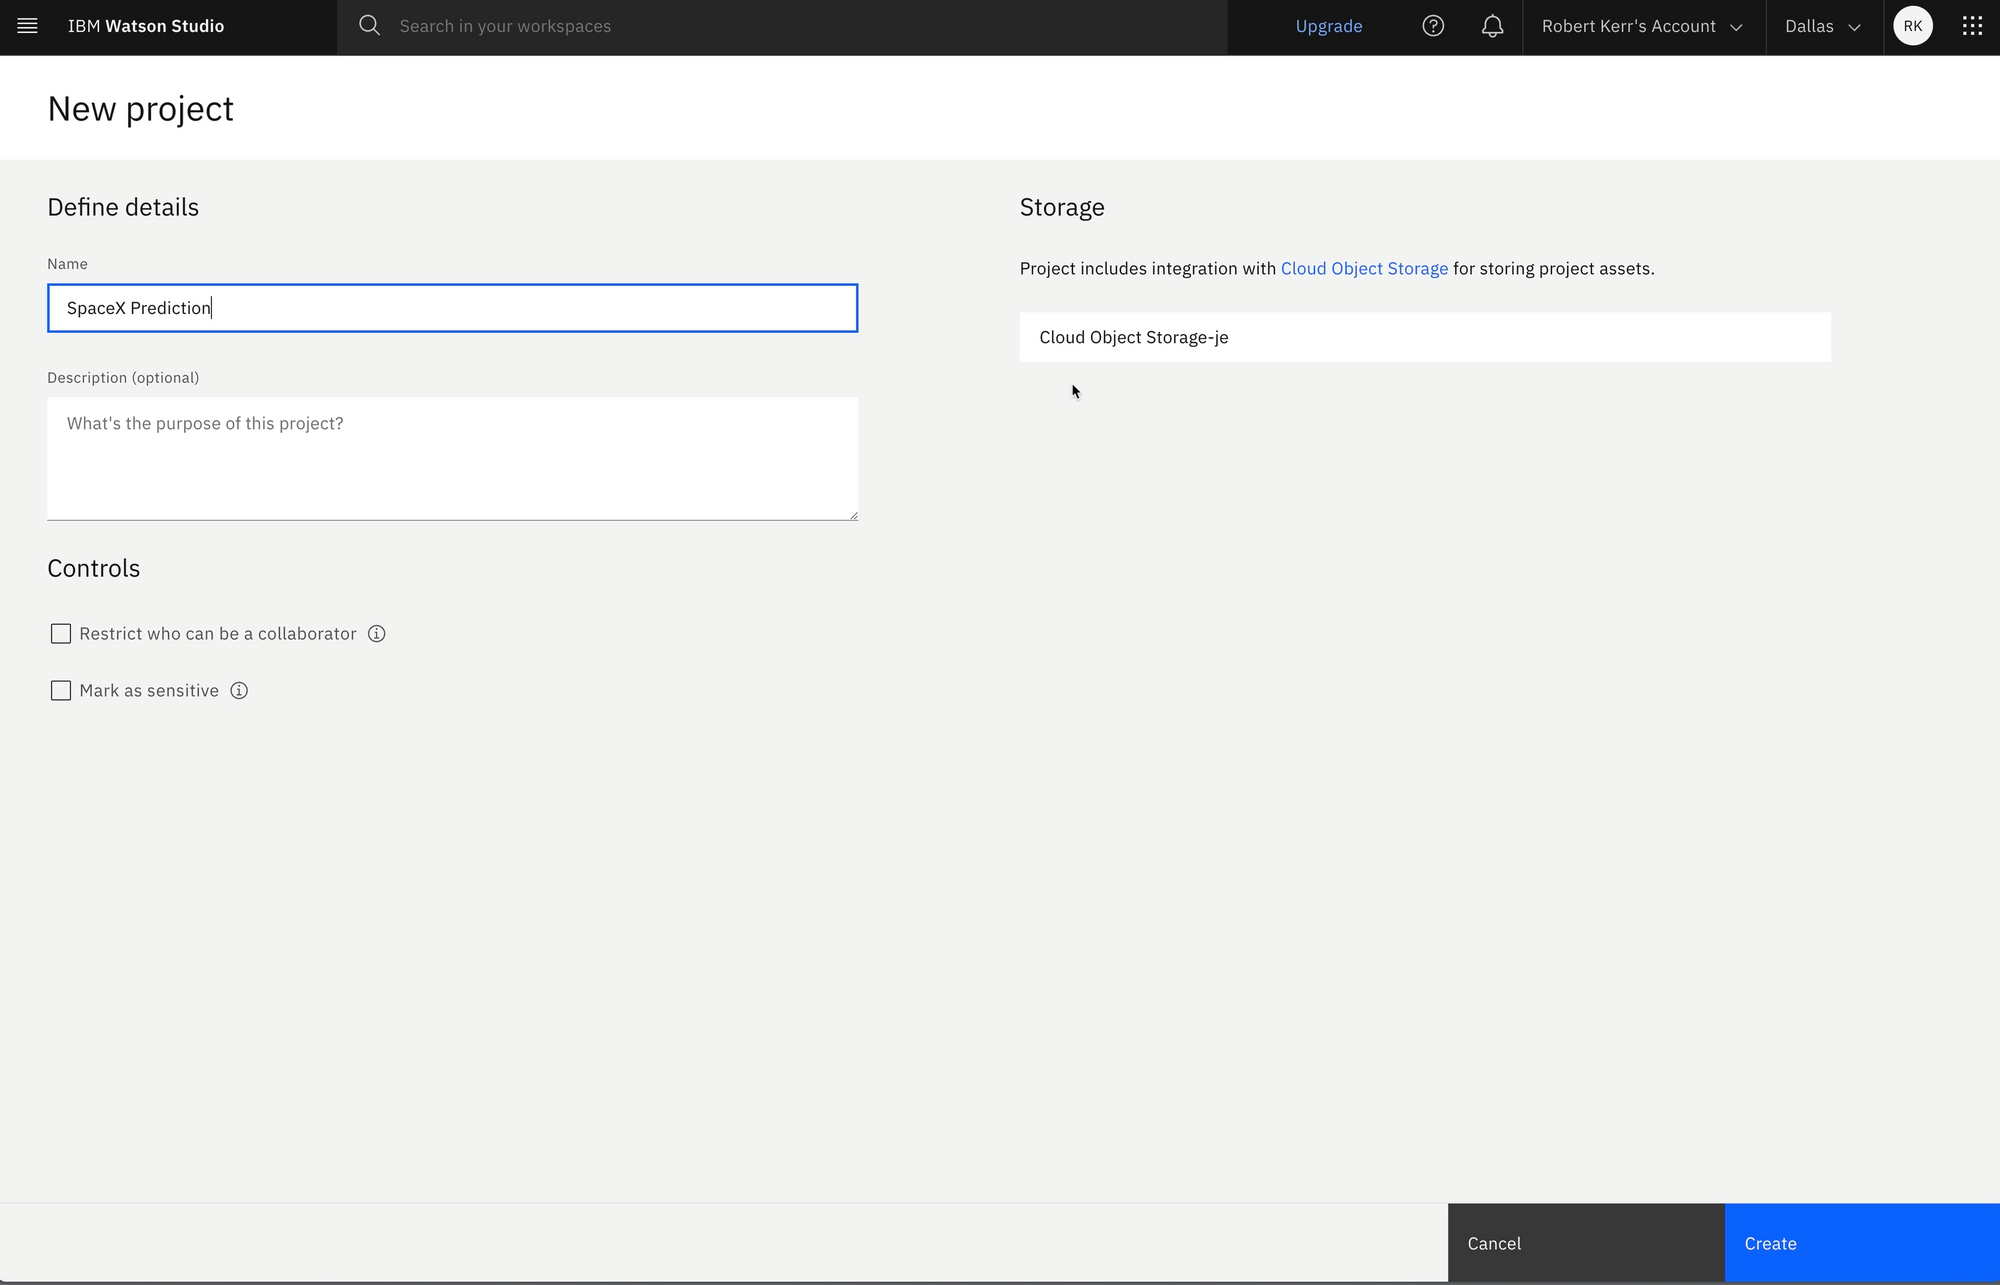
Create a Watson Studio Project
Watson Studio is project based, so the first step in training a model is to create a project to hold all the assets. In this simple case, the assets include:
- The source data. In this case a CSV file of SpaceX Falcon 9 launches
- The Jupyter notebook, which contains the Python code to train the model.
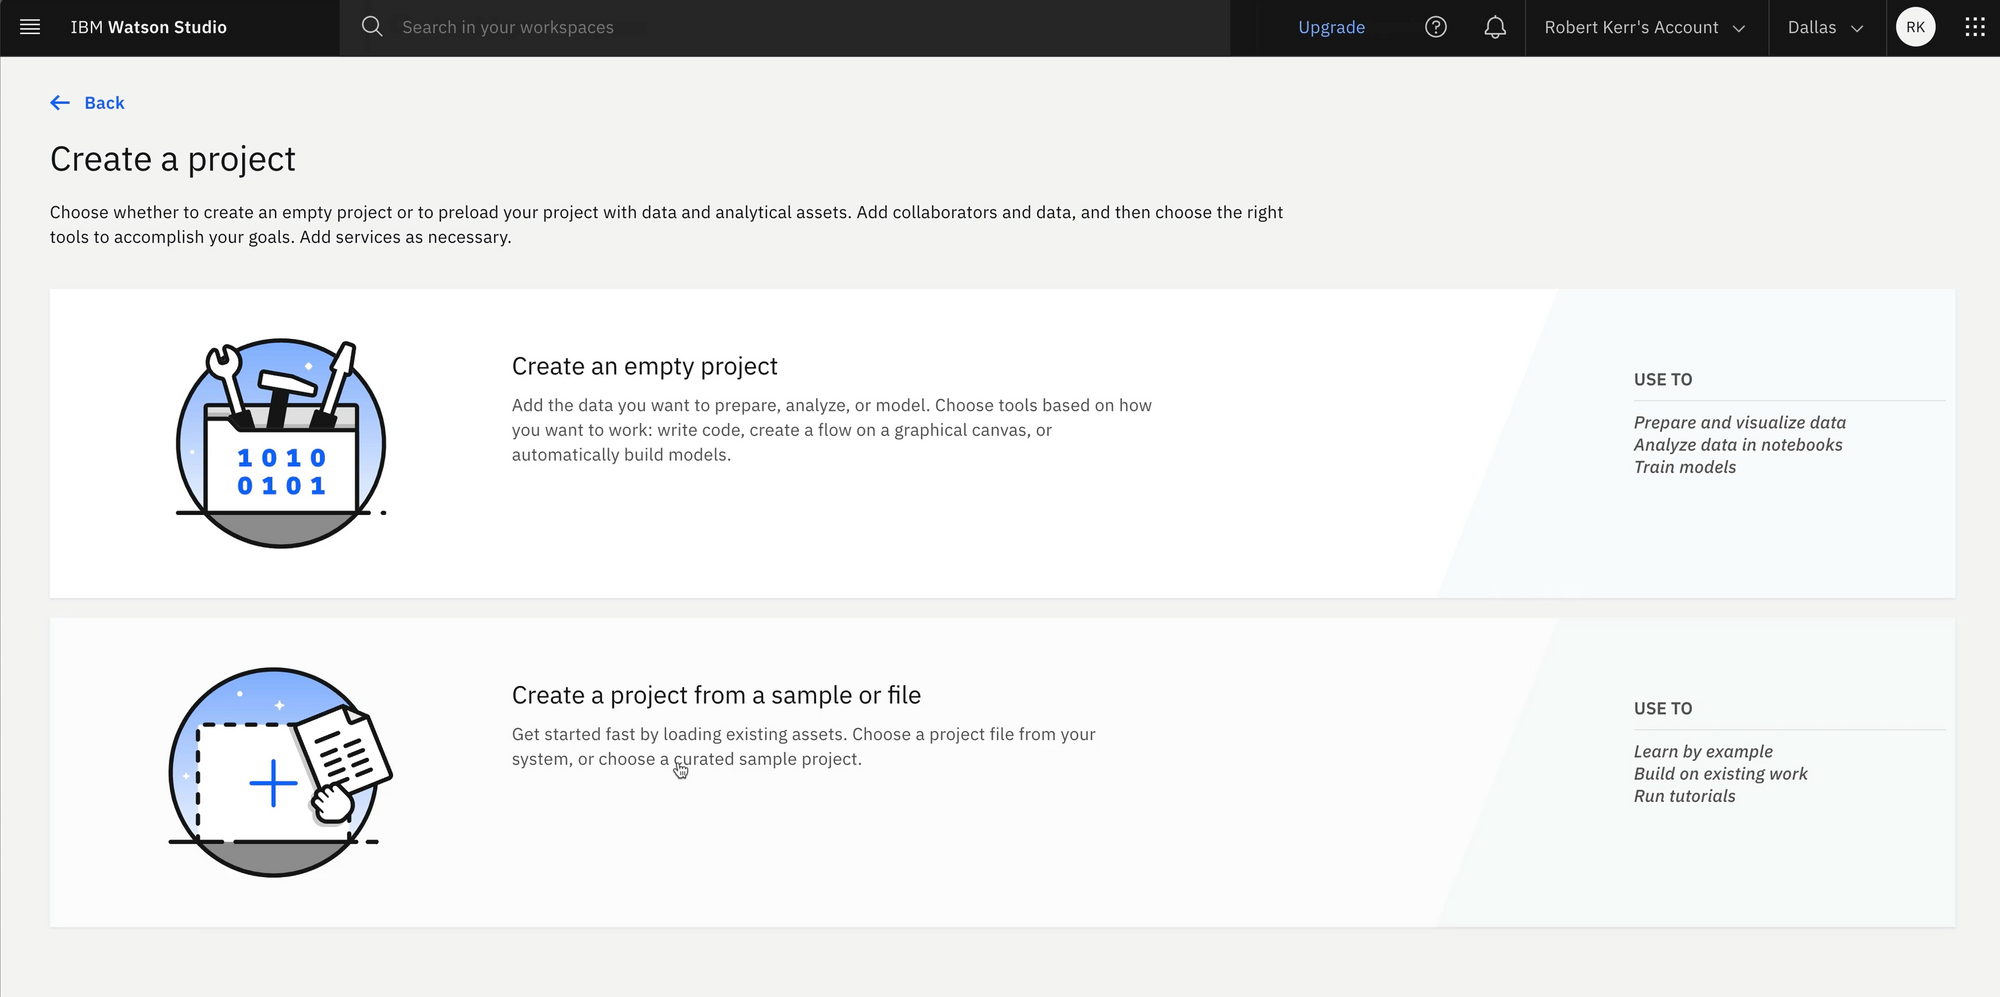
After selecting the option to create an empty project, we give the project a unique name.
Object storage auto-creation
Note that as the project is created, a default Cloud Object Storage bucket is created for storing assets, including the notebooks and data. By default, Watson Studio uses the same bucket for notebooks and data, so it's easy to get started with minimal deployment steps.
In a later step we'll upload the input data to this object container.
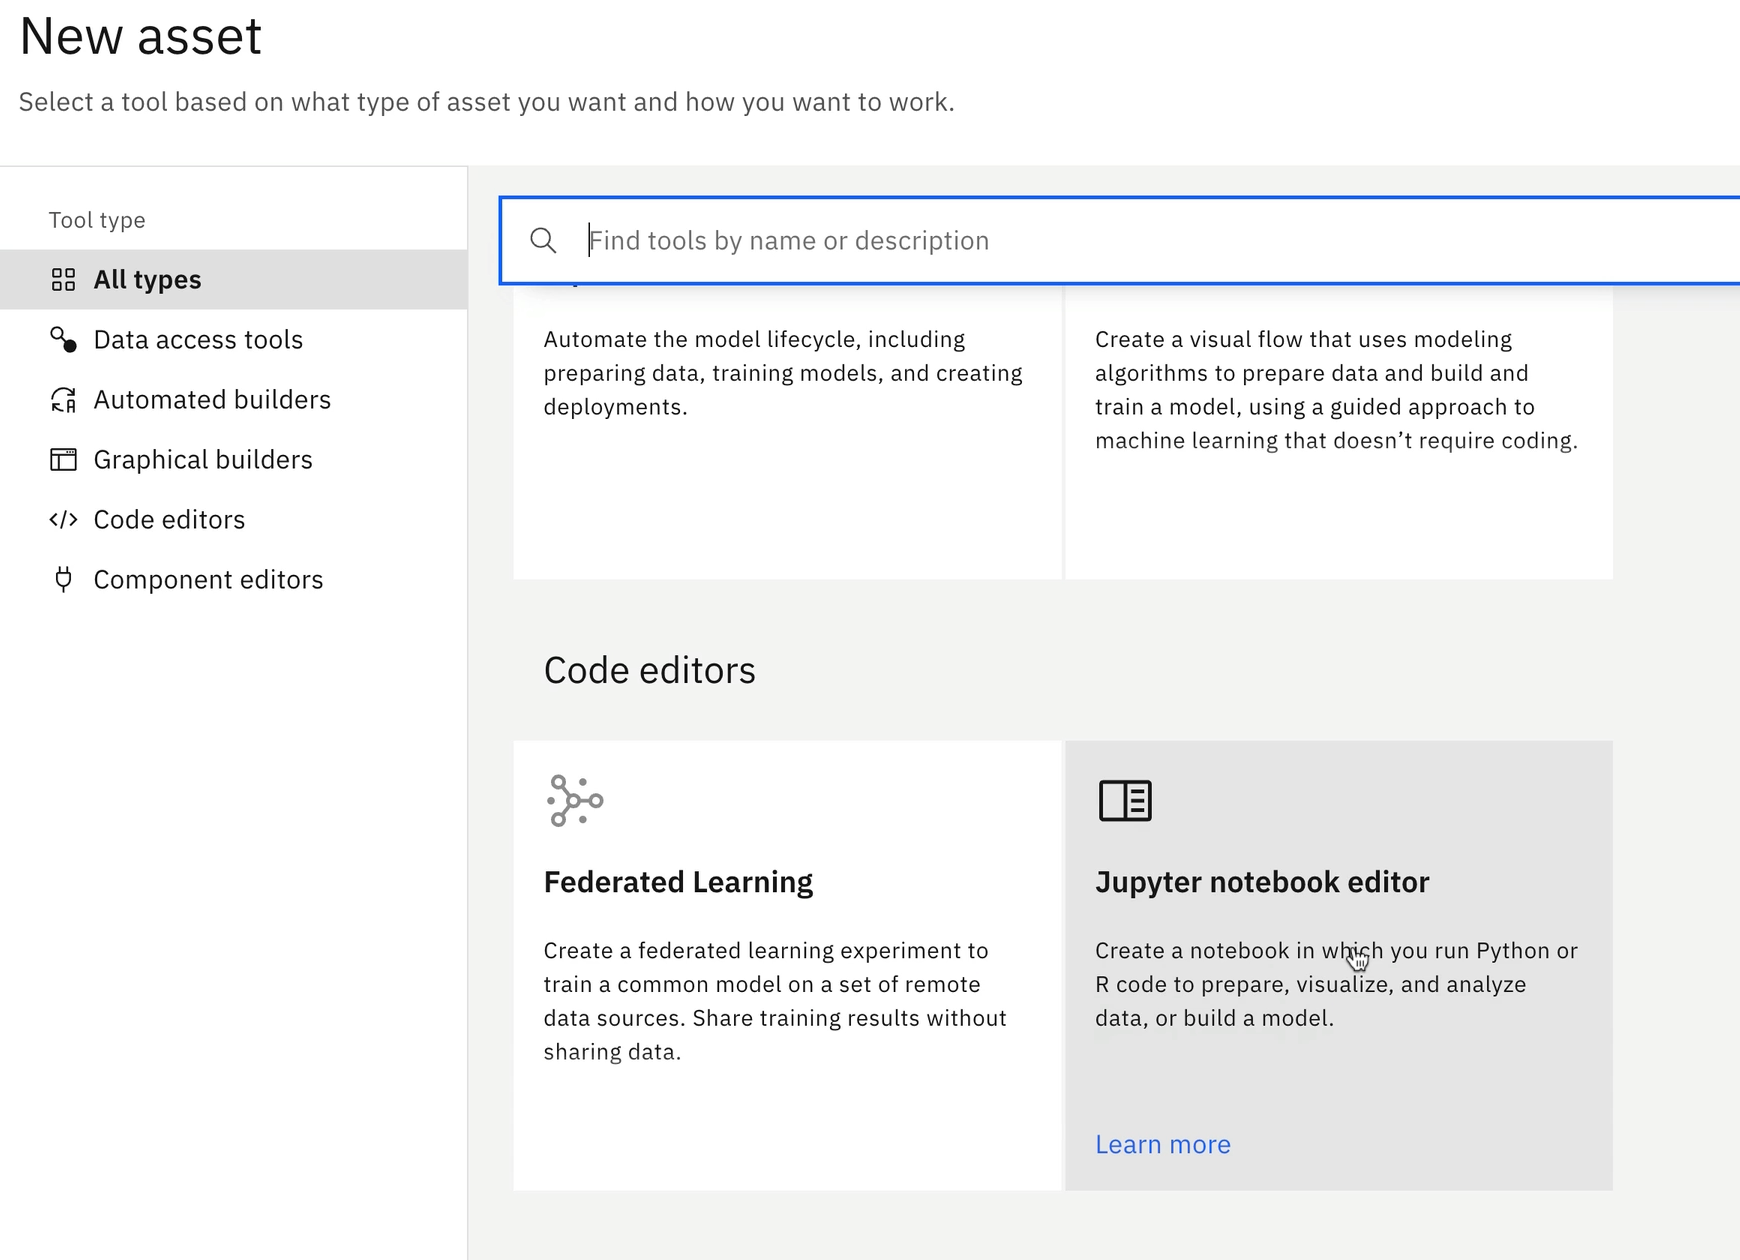
Create a Notebook
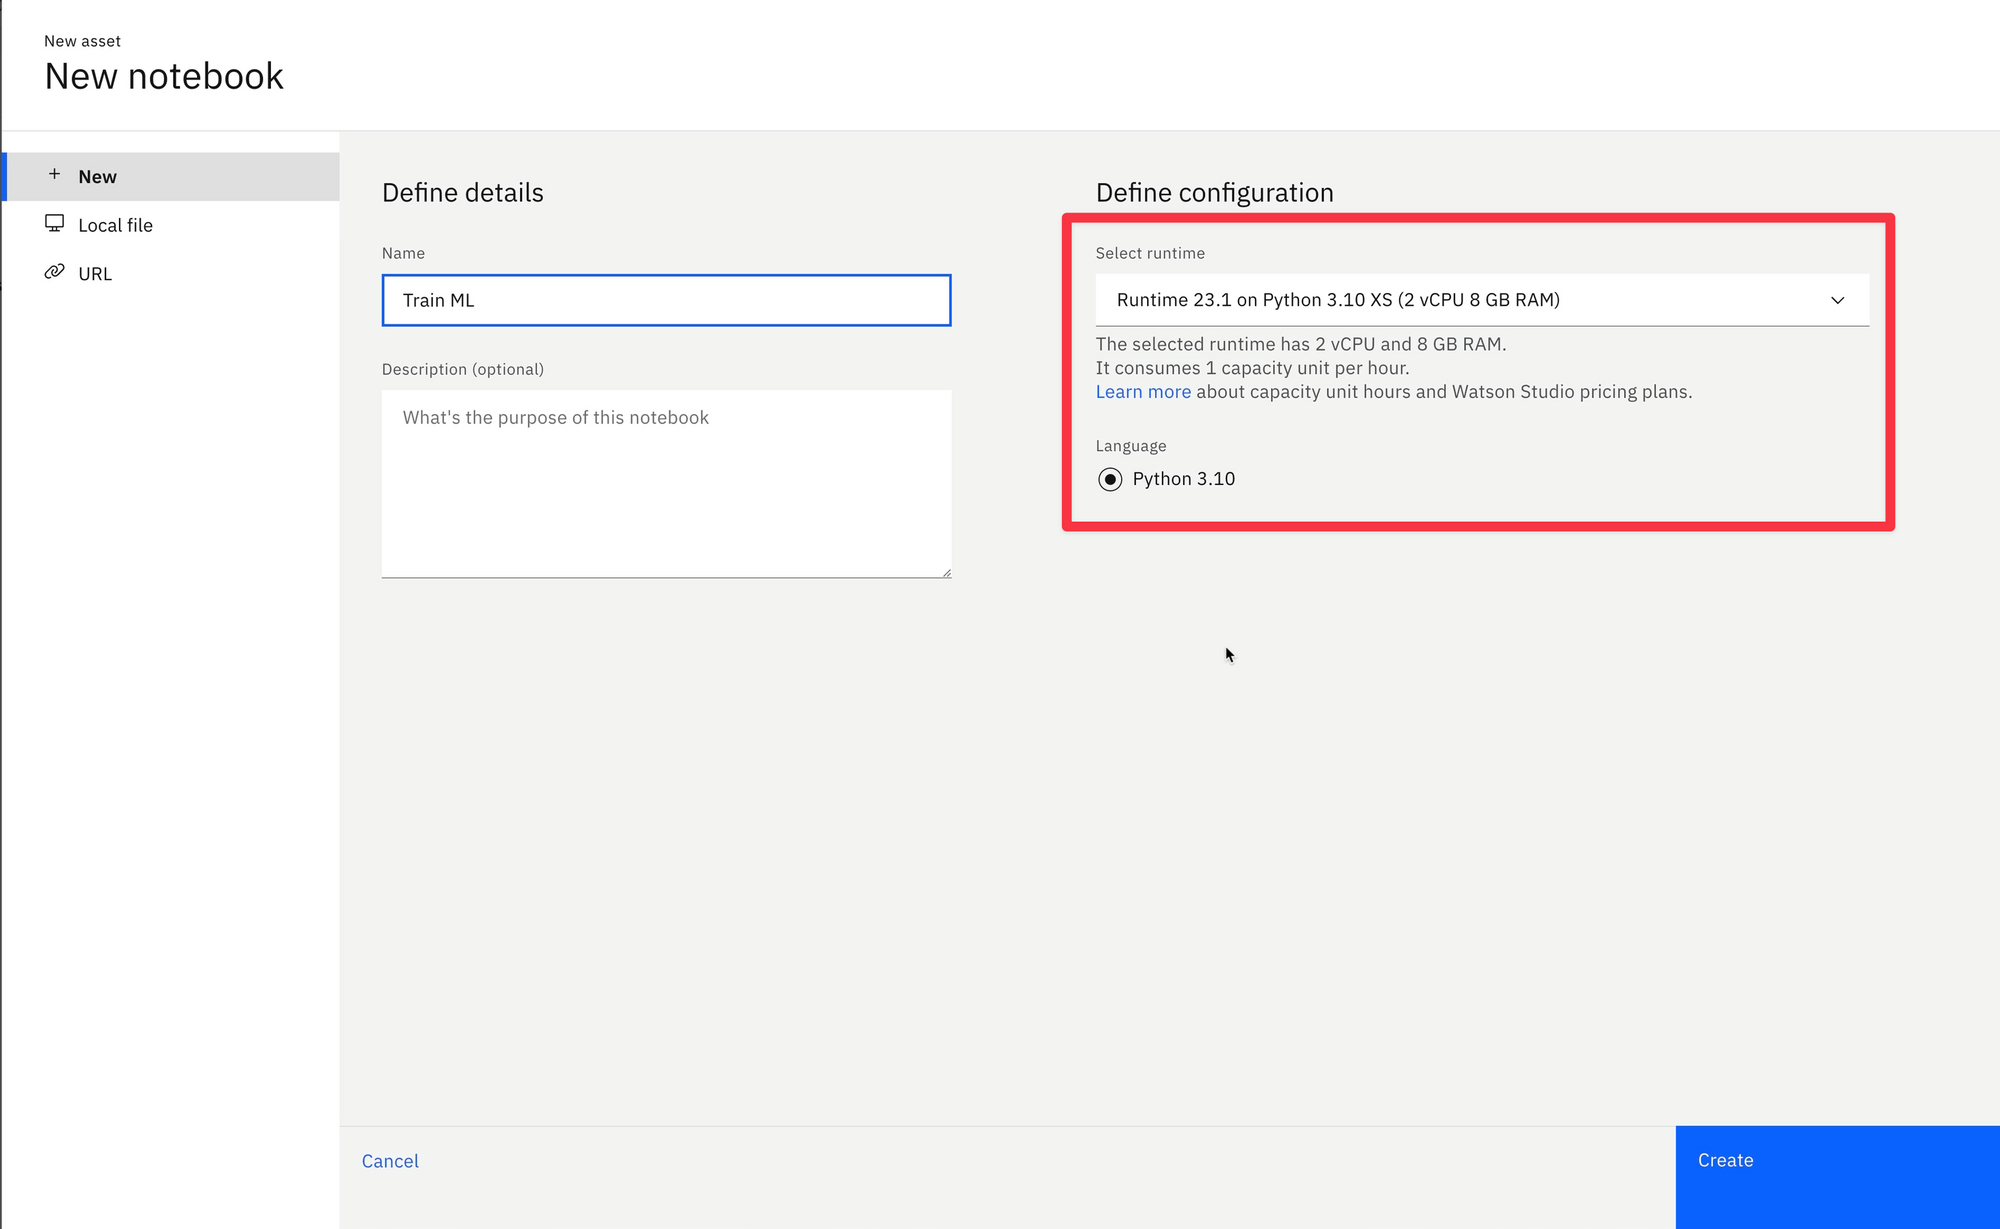
In a Watson Studio project, the notebook is an asset, and we next create a new notebook within the project. The notebook becomes an object in the default container.
As the notebook is created, Watson Studio provisions a compute kernel, and automatically attaches it to the notebook. As with most cloud platforms, there's a choice of runtime virtual machine specs, dependin gon the processing needs of the model.
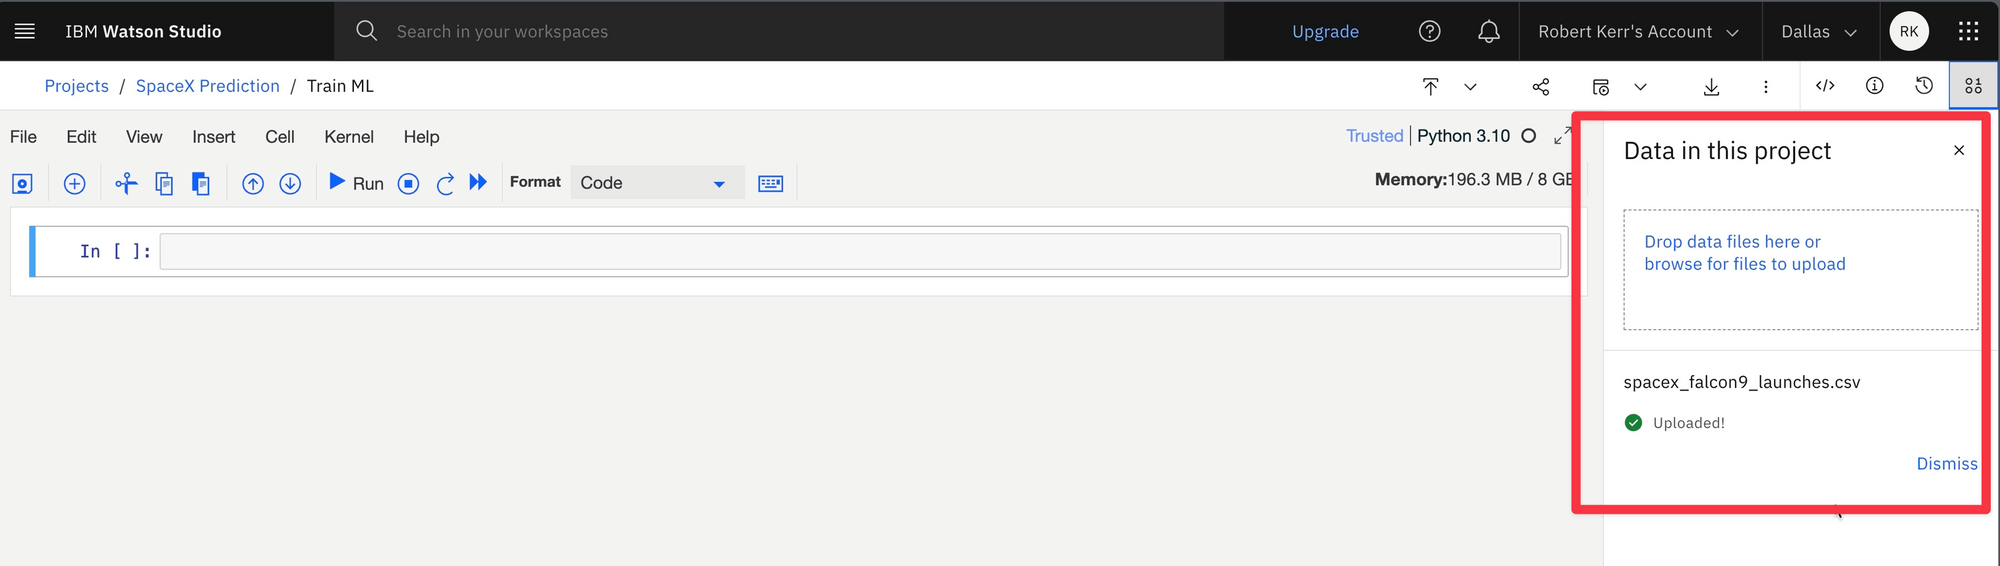
Upload the input data
The input data for model training can be uploaded directly within the notebook user interface. No need to switch to a different UI to upload data!
Read the data into the notebook
The uploaded data file is in a storage bucket. Code & Credentials are needed to access the data file. Luckly Watson Studio provides a code snippet generator, which can insert the correct, completed code into the notebook.

Run the Notebook
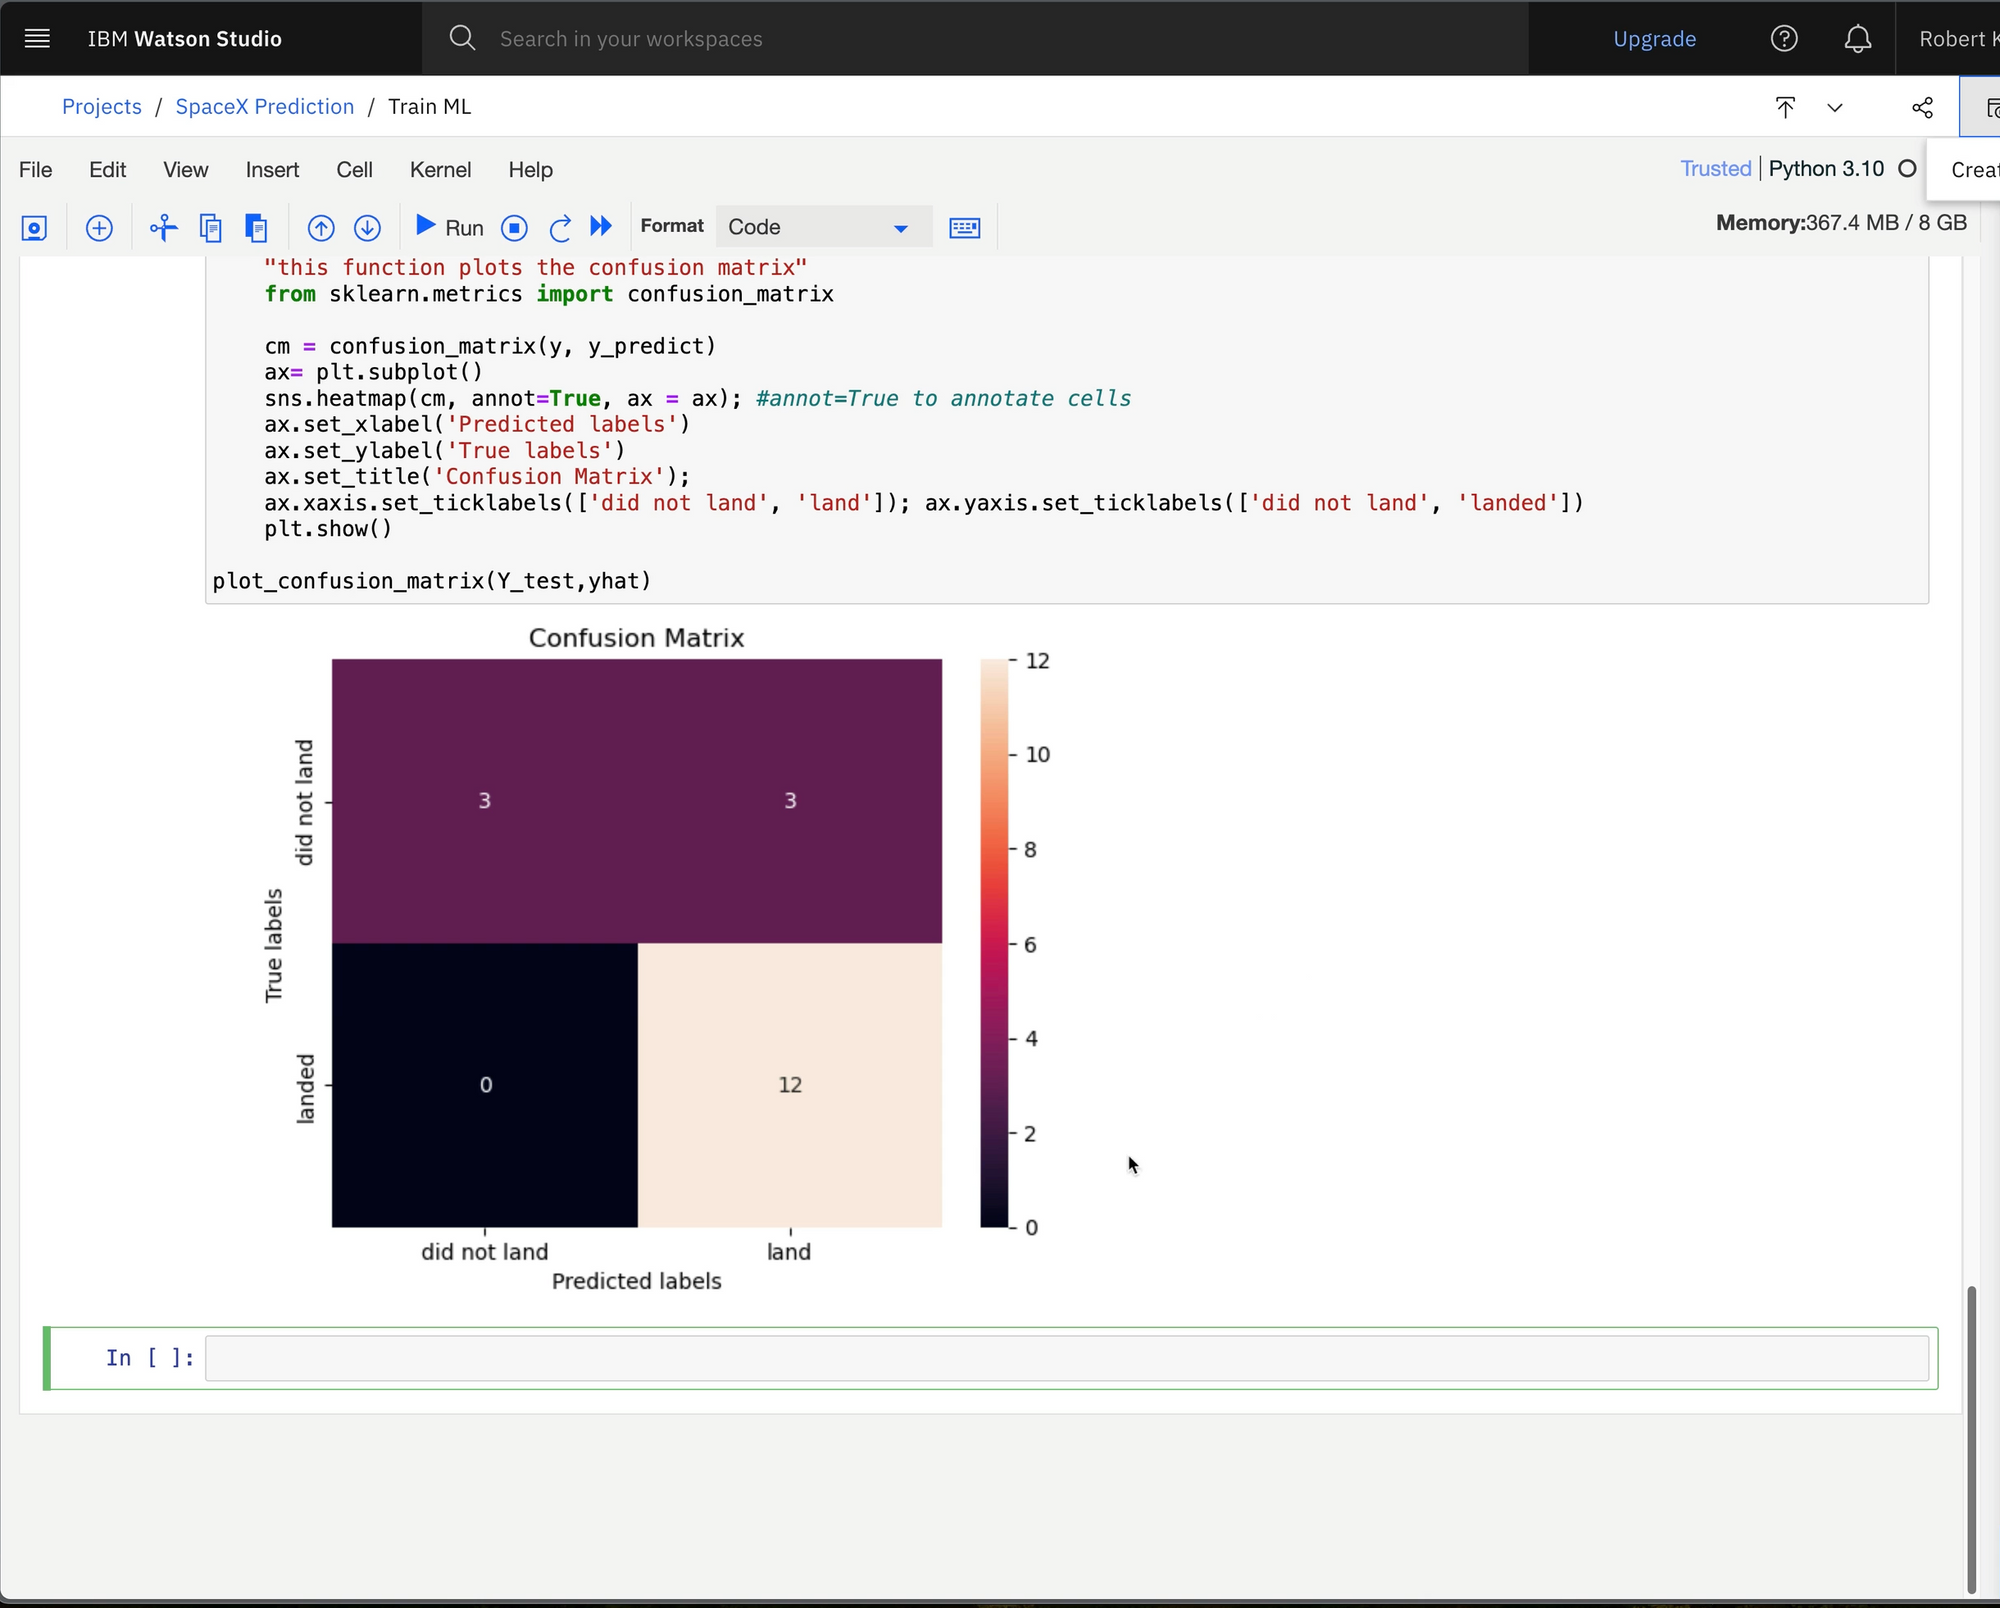
Once the data is loaded into the notebook, we can continue wrangling data and training the model using familiar Pandas and scikit-learn libraries.
Next Steps
Training a model is just the first step. IBM Watson supports model deployment, job configurations and inference endpoint publishing. Those topics are for a future post, but hopefully this short post and video give you an idea of how Watson Studio works and how to use it!