


Prompt Engineering vs. Fine-Tuning
While Prompt Engineering focuses on adding information to the context window of individual LLM prompts--without modifying the actual LLM--fine-tuning is focused on adding a thin layer of LLM parameter weights to customize the model itself to work better with a specific use case.
Generally, prompt engineering requires little processing power, since it only involves modifications to the text used to prompt an LLM. Conversely, Fine Tuning is a form of AI training, and requires powerful CPU/GPU hardware to complete.
In this post we'll focus on configuring our Windows system to perform fine-tuning on open-source LLMs using a local GPU.
Fine-Tuning Computing Requirements
Large Language Model (LLM) fine-tuning is compute-intensive and typically requires the uses of a powerful computer or cluster of computers with one or more GPUs. For high-scale fine-tuning, data-center class computers with multiple GPUs are often required.
However, for initial development scenarios or when fine-tuning training data is sensitive and it's not desirable to upload it to a cloud platform, or when we'd like to experiment with fine-tuning techniques while offline, "local" fine-tuning using consumer desktop/laptop systems can be a useful alternative.
In this post I'll show you how to prepare a local Windows-based machine with an Nvidia GPU to serve as a development-scale fine-tuning workstation. This type of system won't replace data-center class systems for the largest fine-tuning workloads, but can be more than adequate for tuning quantized open-source models while developing proof-of-concept fine-tuning strategies or small-scale LLM-backed solutions.
Don't I Need Linux for LLM Fine-Tuning?
Tool chains for LLM fine-tuning are predominantly designed to be run on Linux machines. Some LLM training can work on Windows natively, but not all, and it's best to plan for a Linux development environment for LLM training.
Fortunately, Microsoft provides a way to install a built-in Linux Kernel to run Linux-specific software without dual-booting. By using Windows Subsystem for Linux (WSL), a fully supported Windows feature, we can leverage the wide-range of Linux-based training while continuing to use Windows as the host OS on our development system.
In the strategy outlined here, we will be using Ubuntu Linux hosted within WSL to fine-tune LLMs. Best of all we'll keep the Windows host OS running so we can continue to use all the other Windows apps we know and love.
Overall Approach
To configure a local Windows machine for LLM fine-tuning, we'll use the following strategy:
- Install the Windows Subsystem for Linux (WSL) & update Ubuntu packages to the latest versions.
- Install the GNU g++ compiler and related tools. Some LLM fine-tuning Python packages will call for a C++ compiler to build object code during package installation, making it a dependency in many scenarios.
- Install MiniConda within the WSL environment. When developing for Python, using an environment manager helps keep each type of development project isolated from the others. In this solution we'll use MiniConda as our Python environment manager (it's not the only option, if you prefer venv or another environment manager you can continue using it).
- Microsoft provides some helpful extensions to allow the Windows version of Visual Studio Code to interoperate with the WSL Linux environment. Using these components lets us use VS Code on Windows.
- In this post I'll use the popular Unsloth Linux toolchain to conduct fine-tuning of a Llama2 model. Unsloth is designed for Linux, but works fine on WSL. It's also ideal for local processing since it's both GPU and Memory efficient.
YouTube Video Available
This walk-through portion of this post is available as a YouTube Video! Head over to see the configuration and code steps in action. The text version of the post continues after the embedded video link.
YouTube Version of this Post
1-Install Windows Subsystem for Linux
WSL supports a range of Linux Distributions, including Ubuntu, Debian, OracleLinux and SUSE. You can choose your favorite, but I'm going to use Ubuntu (and this writing the most current is 22.04).
To install WSL, you can use the Windows GUI, or the CLI (command-line interface), but I'll use the CLI from a Windows command prompt by entering the following command:
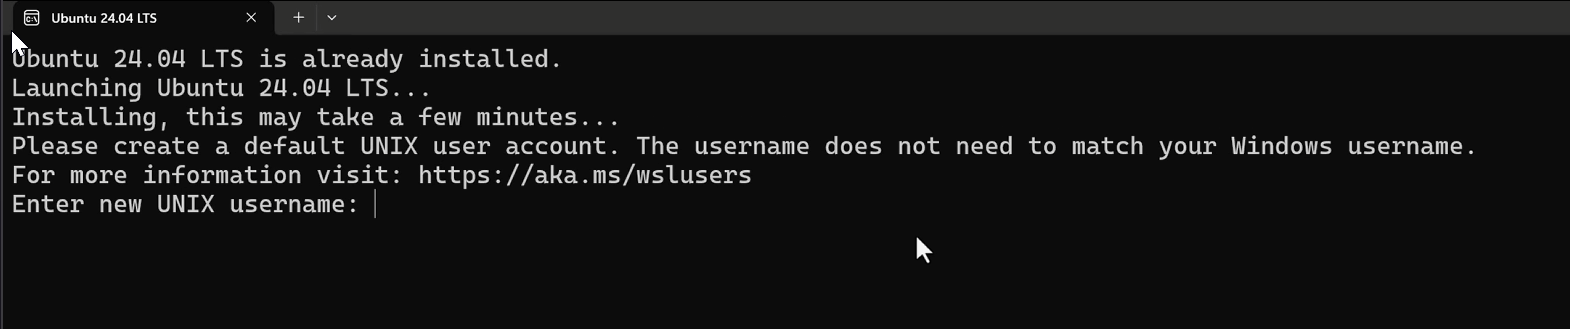
C:\Users\rob> wsl --install Ubuntu-24.04As the installation completes, WSL will ask for a root username & password for the Ubuntu Kernel. This credential is used only for Linux, and is in addition to whatever Windows credentials you use to manage Windows on your system.
<< Image Here >>
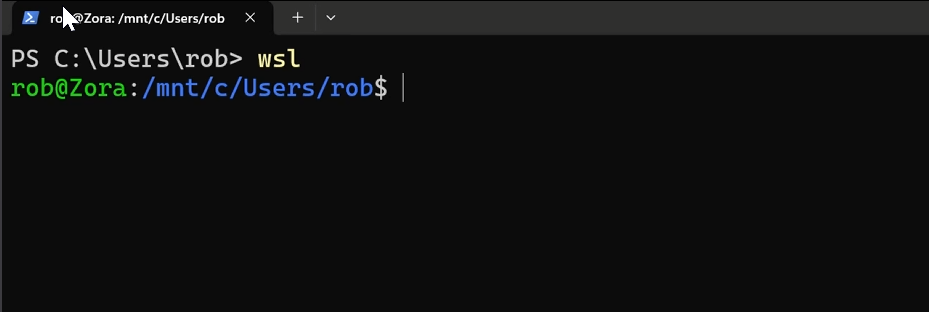
Running the Ubuntu Terminal
To switch to the Ubuntu CLI anytime, simply enter wsl at a Windows command prompt.
<< Image Here >>
wsl <linux command here>Update Ubuntu Packages
It's always a good idea to update your OS after installation, so we'll start by upgrading all the Ubuntu modules that WSL installed into our local image.
sudo apt update & sudo apt upgradeInstall Pip in the base WS Environment
We'll be using pip extensively, so let's get that installed now.
sudo apt-get install python3-pip2-Install a C++ Compiler
As you install LLM fine-tuning packages, you may find that some will require your system to compile C/C++ code. We'll install the GNU g++ compiler so it's available in case we use Python libraries that require compilation on install.
sudo apt-get install build-essential gdbAfter installation, verify the compiler is installed:
g++ --version3-Install Miniconda in WSL
From a WSL command prompt, use the following commands to install Miniconda for Linux.
mkdir -p ~/miniconda3
wget https://repo.anaconda.com/miniconda/Miniconda3-latest-Linux-x86_64.sh -O ~/miniconda3/miniconda.sh
bash ~/miniconda3/miniconda.sh -b -u -p ~/miniconda3
rm -rf ~/miniconda3/miniconda.sh
~/miniconda3/bin/conda init4-Install WSL Components in VS Code for Windows
We can use VS Code for our Linux development (including fine-tuning) by adding WSL extensions to VS Code.
First, start VS Code, then from the extension manager, search for and install the following:
- WSL
- Python extension, using the "Install in WSL:" button that is visible after installing the WSL extension.
From this point you can open Linux folders within VS Code using the green "><" button at the bottom-left of VS Code. However, in this post I'll be opening VS Code from the WSL CLI (this is just my preference--you can open folders from within VS Code if you prefer).
5-Create a WSL Python Environment and Fine-Tune LLama3.
All the configuration is done! Now let's fine-tune an LLM to see if we've set things up correctly. I'll use Unsloth's free, basic fine-tuning tutorial. You can follow along with the same notebook to check out your system.
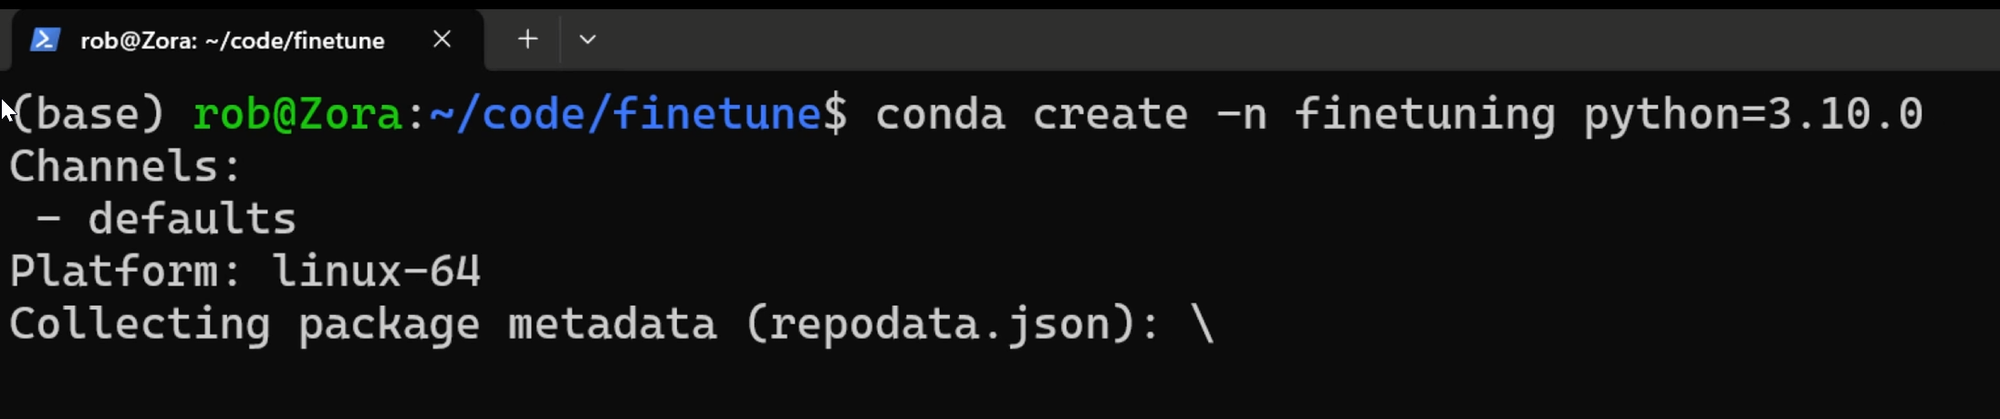
Create a Conda Environment
It's always a good idea to make a partitioned environment for a Python project. First I'll create a new environment called finetuning and activate it.
Install Unsloth Dependencies into the Python Environment
Unsloth is an open and free LLM fine-tuning toolchain that can be used either locally or in cloud-hosted training environments. You can follow along the steps to perform training by reading their installation instructions.
For the Conda environment installation, we add the following from the WSL command-line:
# Note, CUDA 11.8 can be used if 12.1 isn't supported on the GPU being used
conda install pytorch-cuda=12.1 pytorch cudatoolkit xformers -c pytorch -c nvidia -c xformers

pip install "unsloth[colab-new] @ git+https://github.com/unslothai/unsloth.git"

pip install --no-deps trl peft accelerate bitsandbytes
Create a New Notebook for Training
In this walk-through, we create a new notebook in Visual Studio Code, choose the WSL Linux environment (remember, we installed the WSL extension to enable this), and then we can use the Notebook provided in the Unsloth docs to test the training environment.
Save the Fine-Tuning Adapter to Local Disk
After the fine-tuning is complete, we can save the adapter, which contains the custom LLM parameters we created during training.

Once saved, we can review the local file system for the fine-tuning adapter.
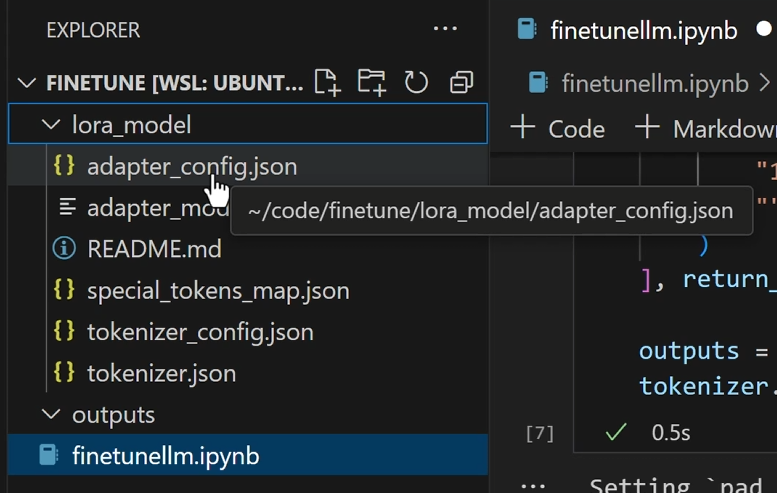
These files are what we would use to add parameters to the base Llama3 model.
Summary
In this post we walked through the process to configure a Windows desktop/laptop computer for fine-tuning of a large language model (LLM).
Some of the reasons we may want to configure a system like this:
- We want to fine-tune with data that shouldn't be uploaded to an external environment.
- We need to fine-tune on a system that's offline (not connected to the Internet).
- The profile of our development work is that we're going to be fine tuning a lot, and over time cloud compute charges may exceed the cost of local hardware.
- Once a fine-tuning process is refined, that process (input data, steps, hyperparameters) can then be run on higher-performing data-center clusters, i.e. we can develop ideas locally then productionize them on large-scale systems.
Conversely, there are reasons not to fine-tune locally:
- Cloud-based systems are elastic and scalable--we can leverage much higher GPU capacity in the cloud than on-prem (for most of us!).
- Fine-tuning on local consumer-grade hardware requires the use of quantized models, meaning that a locally fine-tuned model may not perform as well as ones trained on more powerful GPUs that can use less quantized models.
In the end, local GPU training is just another tool in the toolbox. Whether local training makes sense will depend on the team and problem being addressed. If nothing else, learning how to configure a training environment is a good learning process!